Thursday, April 21, 2011

Homemade Gifts - Linen Bucket, Crayon Roll, Cake Balls


These are a few of the projects I have made over the past few weeks.  All were gifts.  I made the fabric bucket as a baby shower gift and filled it with baby shampoo, boogie wipes and lotion.  I made the crayon roll for a 2 year old little boy who is a friend of my son and the cake balls were for my E's Easter party at school.


Wednesday, April 6, 2011

The Ultimate Blog Party 2011

A few days ago I found the 2011 Ultimate Blog Party.  I thought it sounded interesting and decided to join in.

Ultimate Blog Party 2011

A little about myself :
  • I'm a follower of Christ
  • Wife and mother to a 2 year old trying to find his independence.
  • I love to sew and my sewing goal for 2011 is to give homemade gifts instead of store bought gifts.
  • I love Dr. Pepper!!
  • I also enjoy baking when I have a little extra time.
  • An aspiring photographer in need of a lot more practice.
My blog is about sewing projects, trying new recipes and trying to tackle photography with who knows what else thrown in.  I'm heavy on pictures and light on words.

Tuesday, April 5, 2011

Barnyard Birthday Party

We celebrated E's birthday a month ago at the local Pizza Hut and the birthday party had a barnyard theme.  I called the Target bakery and asked if they could decorate cookies with cows, pigs and sheep and of course they said yes.  When we picked them up we were very pleased.  They could not have matched the barnyard decorations any better.  They were perfect.


Tuesday, March 29, 2011

Birthday Present For Little Girl - Purse

One of my goals for 2011 is to make homemade gifts.  This is my first homemade gift of the year.  A purse for a 4 year old little girl.  She loved it!  The purse was quick and easy to make.  Picking out the fabric from my stash and sewing the purse together took less than two hours.  Picking the fabrics probably took longer than actually sewing the purse together.


Here is the link for the purse tutorial from Little Girl Pearl.  I also stuck inside the purse a scratch paper notebook and pen and a Lil Cutie Pouch from Noodlehead.

Wednesday, March 2, 2011

Magnolia Cupcakes and Birthday T-shirt!

Today is my little Dennis the Menace's 2nd Birthday.  Happy Birthday!  So this morning before I took him to school I decided to make him a t-shirt.  I also had to shorten the shirt because it hung to his knees.  I'm happy with the way it turned out considering I made it in less than 30 minutes.  On the front is an E for his first name and a 2 on the back for his age.


The Magnolia Bakery cupcakes for E's birthday party at school.

Cupcakes
Level: Easy
Yield: 24 cupcakes


Ingredients
Cupcakes:

1 1/2 cups self-rising flour
1 1/4 cups all-purpose flour
1 cup (2 sticks) unsalted butter, softened
2 cups sugar
4 large eggs, at room temperature
1 cup milk
1 teaspoon vanilla extract


Directions

Preheat oven to 350 degrees F.

Line 2 (1/2 cup-12 capacity) muffin tins with cupcake papers.

In a small bowl, combine the flours. Set aside. In a large bowl, on the medium speed of an electric mixer, cream the butter until smooth. Add the sugar gradually and beat until fluffy, about 3 minutes. Add the eggs, 1 at a time, beating well after each addition. Add the dry ingredients in 3 parts, alternating with the milk and vanilla. With each addition, beat until the ingredients are incorporated but do not over beat. Using a rubber spatula, scrape down the batter in the bowl to make sure the ingredients are well blended. Carefully spoon the batter into the cupcake liners, filling them about 3/4 full. Bake for 20 to 25 minutes, or until a cake tester inserted into the center of the cupcake comes out clean.  Cool the cupcakes in tins for 15 minutes. Remove from the tins and cool completely on a wire rack before icing.

Vanilla Buttercream

1 cup (2 sticks) unsalted butter, softened
6 to 8 cups confectioners' sugar
1/2 cup milk
2 teaspoons vanilla extract

Place the butter in a large mixing bowl. Add 4 cups of the sugar and then the milk and vanilla. On the medium speed of an electric mixer, beat until smooth and creamy, about 3 to 5 minutes. Gradually add the remaining sugar, 1 cup at a time, beating well after each addition (about 2 minutes), until the icing is thick enough to be of good spreading consistency. You may not need to add all of the sugar. If desired, add a few drops of food coloring and mix thoroughly. (Use and store the icing at room temperature because icing will set if chilled.) Icing can be stored in an airtight container for up to 3 days.

Yield: enough for 2 dozen cupcakes or 1 (9-inch) layer cake

I wanted to try out the new coloring paste I bought the other day but didn't think coloring the icing blue for a bunch of one and two year olds was a good idea.  So I colored the left over frosting and decorated a few for home.  Yummy!!

Friday, February 4, 2011

Ruffled Camera Strap

Number one on my sewing projects for 2011 is complete.  The camera strap was oh so easy to make. 

 I think I would've whipped out a few of these babies if it hadn't been for being cooped up in the house for nearly a week .  I took my two year old to his mammy and pa's and I went home and did a little sewing.  The only problem was I wanted to be outside and not because the weather was warm and sunshiny, but because I couldn't sit still.  We had blizzard conditions and over a foot of snow Tuesday and added probably an additional 2-4 inches on top of it today. I have a serious case of cabin fever and wanted to get outside.  It was hard for me to focus on sewing but I needed to get some projects started and completed.  The camera strap was project #1.

I followed to tutorial on cluck cluck sew.  The link is below.


Pictures from the Blizzard of 2011!!!
 Looking down the road.

 Our chickens huddling together trying to stay warm.
My snow angel!!

Thursday, February 3, 2011

1/2 JH 1/2 PW Calzone

We've had blizzard conditions and have over a foot of snow on the ground.  I have baked, cooked and ate for the last two days.  I don't know when this snow is going to melt with the temperature being in the low teens, but I need out of the house bad.  I need exercise, a break from my husband and two year old, and my car needs to be driven around. We also need milk and flour from the store.  I have cooked chicken and noodles, calzone and quesadillas and also baked sugar cookies.  It seems like all I've done for the last two days is eat and I think I've gained 15 pounds.  So much for being on a roll and losing weight.  Thanks snow for blowing my diet.

I used my recipe for the dough and Pioneer Woman's meat and cheese mixture calzone recipe. 

I found this recipe years ago in Sunset magazine.  The dough requires TIME, but it's simple to make and oh so good. 


Pizza Dough Recipe

1 package active dry yeast
1 cup warm water (90 - 100 degrees)
1 cup ice-cold water
1 tablespoon sugar
1 tablespoon salt
2 tablespoons olive oil
   About 5 1/4 to 5 1/2 cups bread flour

1. In a small bowl, with a fork, stir yeast into warm water.  Let stand until yeast is dissolved, about 5 minutes.
2. In another bowl, mix cold water, sugar and salt until dissolved; stir in oil.
3. Place 5 1/4 cups flour in large bowl.  Stirl in yeast mixture again to blend, then add to flour along with cold-water mixture.  Mix together until smooth and not sticky.  If dough remains sticky add 2 more tablespoons flour and stir until nonsticky and smooth.
4. Scrape dough onto a lightly floured surface; cut in half.  With floured hands, pick up one portion of dough; pull opposite edges together towards center and pinch to seal.  Place each portion in a gallon plastic bag.  Squeeze out air and seal bag, allowing enough room for dough to double.  Chill at least 10 hours or up to 2 days.
5. When ready for dough let stand at room temperature until almost doubled or no longer cold, 30 minutes to 1 hour. 

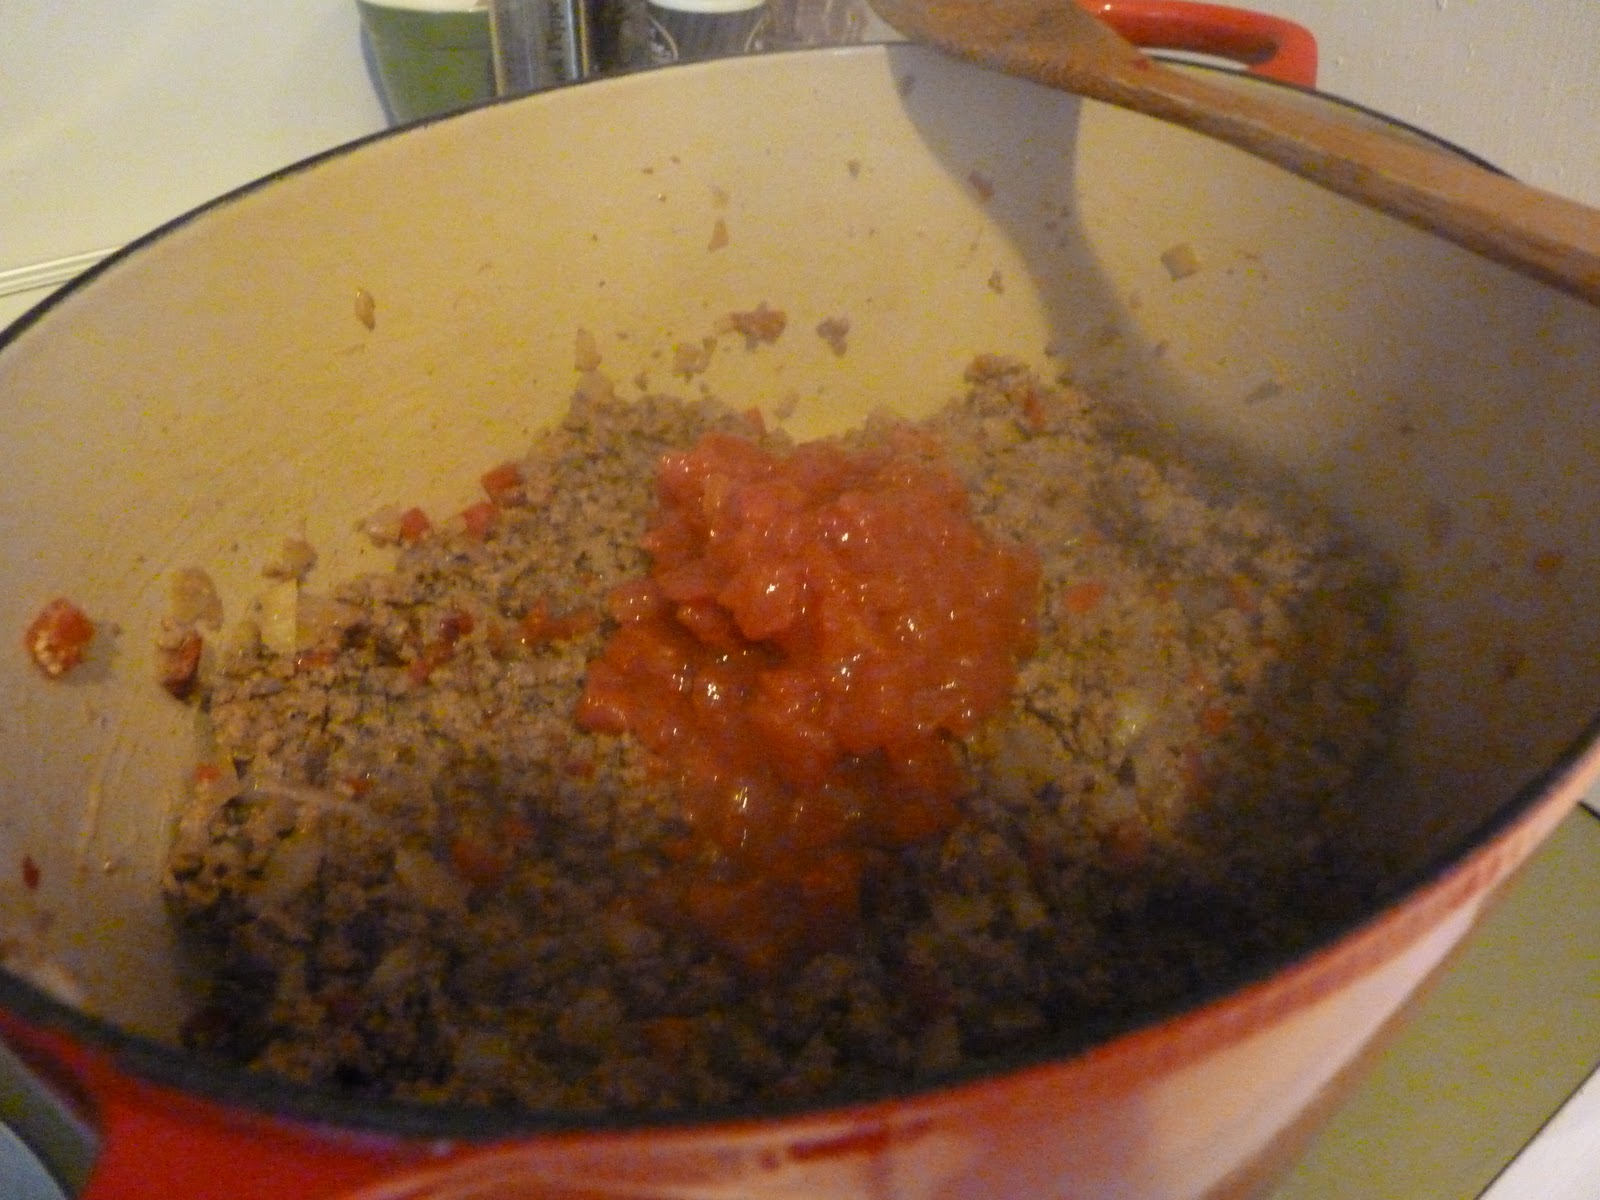
1 1/2 lbs meat with onion and bell peppers cooked in and canned diced tomatoes added

 Meat and cheese mixture
 Calzone ready to eat.  Yummy!

Calzone Recipe

1 1/2 lb ground beef (PW uses 1/2lb breakfast sausage & 1 lb ground beef)
1/2 onion
1/2 red bell pepper, any color will work
15 oz can diced tomatoes ( PW uses for Rotel)
8 ounces ricotta cheese
1/2 cup grated mozzarella cheese
1/2 cup grated monterey jack cheese
1 egg, beaten ( I didn't beat mine before I added it)
salt and pepper
Pizza crust
olive oil for brushing

1. Preheat oven to 450 degrees
2. In a large skillet combine onions, peppers, beef and brown over medium heat.  Drain the excess grease.
3. Pour in the tomatoes, and stir to combine and cook 2 more minutes.
4.  Remove from heat and allow to cool slightly.  (I cooked the meat up the day ahead)
5. In a bowl, combine the ricotta, monzarella, monteray jack, egg, salt and pepper. 
6.  Add the cooled meat mixture to the cheese mixture and stir gently to combine.
7.  Divide dough into 8 equal size balls and with a rolling pin roll each ball into a 6 inch circle.
8.  Place meat-cheese mixture into the middle of each circle.
9.  Fold half of the circle over the other half and gently pinch eadges to seal the calzone.  Brush each calzone with olive oil.
10.Bake for 12-15 minutes, until gloden brown.