Friday, February 4, 2011

Ruffled Camera Strap

Number one on my sewing projects for 2011 is complete.  The camera strap was oh so easy to make. 

 I think I would've whipped out a few of these babies if it hadn't been for being cooped up in the house for nearly a week .  I took my two year old to his mammy and pa's and I went home and did a little sewing.  The only problem was I wanted to be outside and not because the weather was warm and sunshiny, but because I couldn't sit still.  We had blizzard conditions and over a foot of snow Tuesday and added probably an additional 2-4 inches on top of it today. I have a serious case of cabin fever and wanted to get outside.  It was hard for me to focus on sewing but I needed to get some projects started and completed.  The camera strap was project #1.

I followed to tutorial on cluck cluck sew.  The link is below.


Pictures from the Blizzard of 2011!!!
 Looking down the road.

 Our chickens huddling together trying to stay warm.
My snow angel!!

Thursday, February 3, 2011

1/2 JH 1/2 PW Calzone

We've had blizzard conditions and have over a foot of snow on the ground.  I have baked, cooked and ate for the last two days.  I don't know when this snow is going to melt with the temperature being in the low teens, but I need out of the house bad.  I need exercise, a break from my husband and two year old, and my car needs to be driven around. We also need milk and flour from the store.  I have cooked chicken and noodles, calzone and quesadillas and also baked sugar cookies.  It seems like all I've done for the last two days is eat and I think I've gained 15 pounds.  So much for being on a roll and losing weight.  Thanks snow for blowing my diet.

I used my recipe for the dough and Pioneer Woman's meat and cheese mixture calzone recipe. 

I found this recipe years ago in Sunset magazine.  The dough requires TIME, but it's simple to make and oh so good. 


Pizza Dough Recipe

1 package active dry yeast
1 cup warm water (90 - 100 degrees)
1 cup ice-cold water
1 tablespoon sugar
1 tablespoon salt
2 tablespoons olive oil
   About 5 1/4 to 5 1/2 cups bread flour

1. In a small bowl, with a fork, stir yeast into warm water.  Let stand until yeast is dissolved, about 5 minutes.
2. In another bowl, mix cold water, sugar and salt until dissolved; stir in oil.
3. Place 5 1/4 cups flour in large bowl.  Stirl in yeast mixture again to blend, then add to flour along with cold-water mixture.  Mix together until smooth and not sticky.  If dough remains sticky add 2 more tablespoons flour and stir until nonsticky and smooth.
4. Scrape dough onto a lightly floured surface; cut in half.  With floured hands, pick up one portion of dough; pull opposite edges together towards center and pinch to seal.  Place each portion in a gallon plastic bag.  Squeeze out air and seal bag, allowing enough room for dough to double.  Chill at least 10 hours or up to 2 days.
5. When ready for dough let stand at room temperature until almost doubled or no longer cold, 30 minutes to 1 hour. 

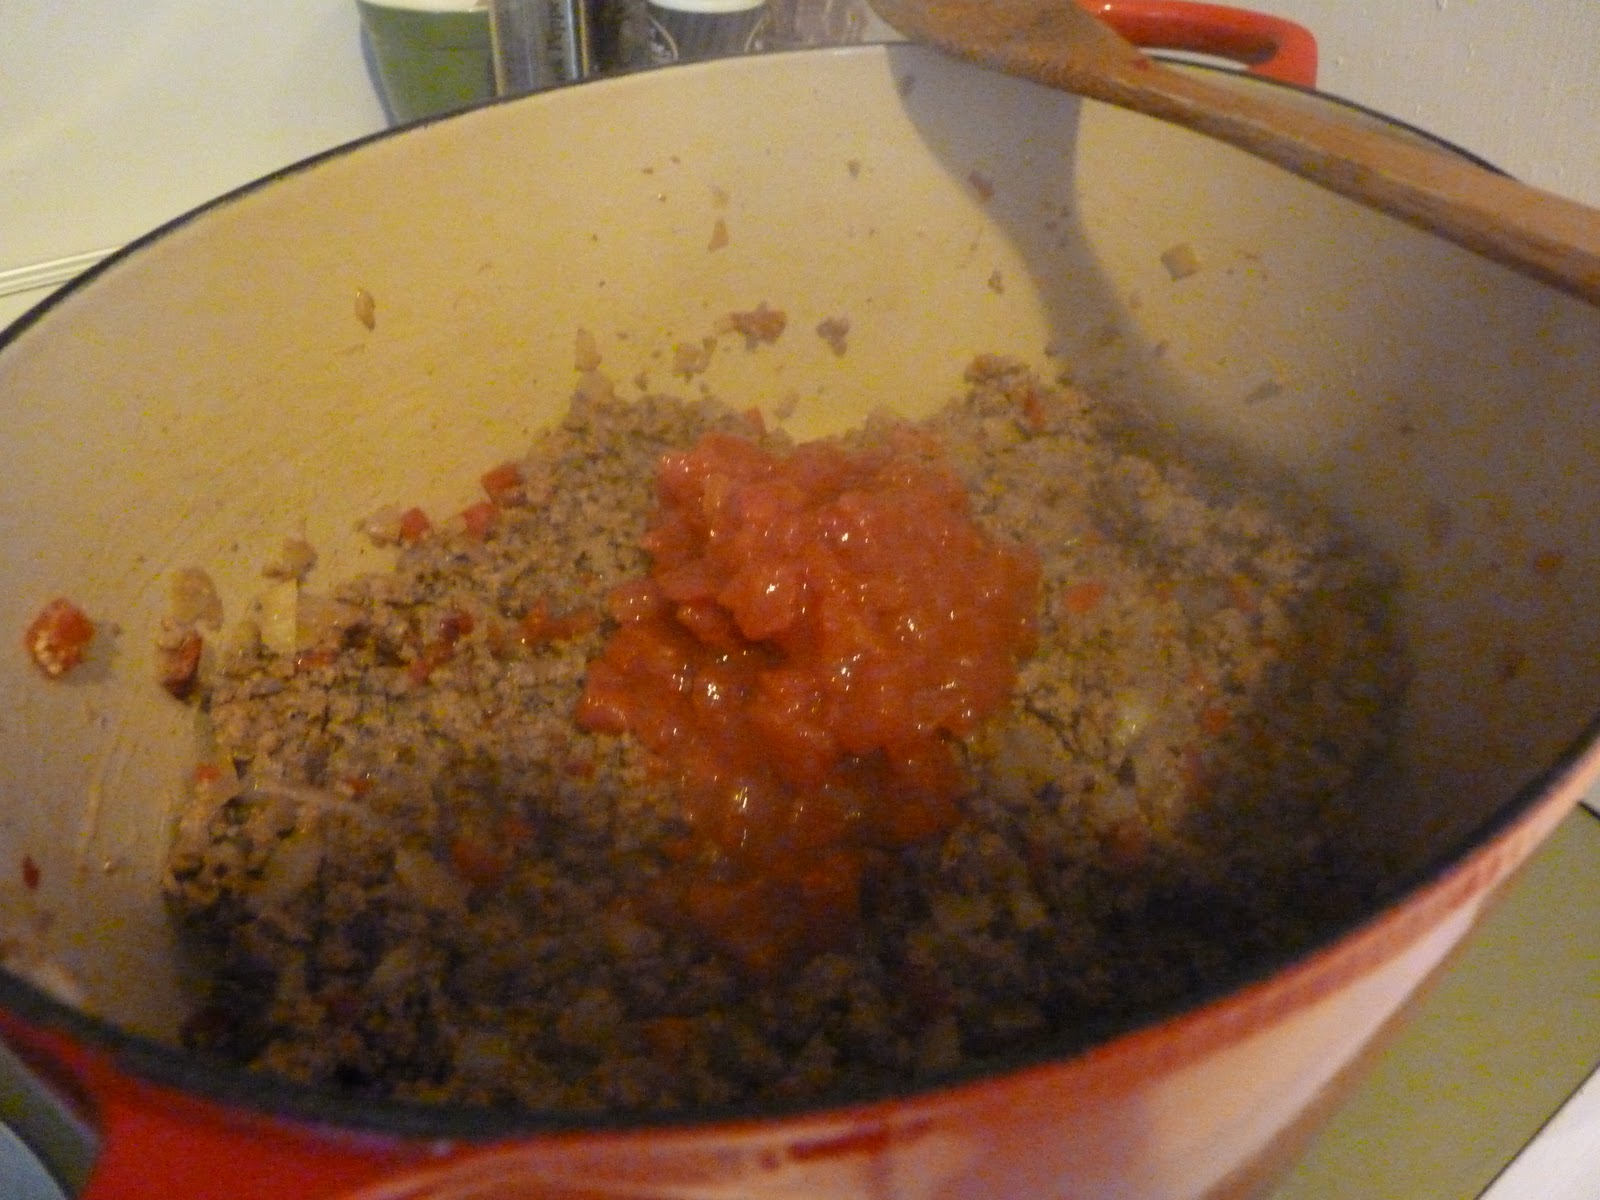
1 1/2 lbs meat with onion and bell peppers cooked in and canned diced tomatoes added

 Meat and cheese mixture
 Calzone ready to eat.  Yummy!

Calzone Recipe

1 1/2 lb ground beef (PW uses 1/2lb breakfast sausage & 1 lb ground beef)
1/2 onion
1/2 red bell pepper, any color will work
15 oz can diced tomatoes ( PW uses for Rotel)
8 ounces ricotta cheese
1/2 cup grated mozzarella cheese
1/2 cup grated monterey jack cheese
1 egg, beaten ( I didn't beat mine before I added it)
salt and pepper
Pizza crust
olive oil for brushing

1. Preheat oven to 450 degrees
2. In a large skillet combine onions, peppers, beef and brown over medium heat.  Drain the excess grease.
3. Pour in the tomatoes, and stir to combine and cook 2 more minutes.
4.  Remove from heat and allow to cool slightly.  (I cooked the meat up the day ahead)
5. In a bowl, combine the ricotta, monzarella, monteray jack, egg, salt and pepper. 
6.  Add the cooled meat mixture to the cheese mixture and stir gently to combine.
7.  Divide dough into 8 equal size balls and with a rolling pin roll each ball into a 6 inch circle.
8.  Place meat-cheese mixture into the middle of each circle.
9.  Fold half of the circle over the other half and gently pinch eadges to seal the calzone.  Brush each calzone with olive oil.
10.Bake for 12-15 minutes, until gloden brown. 

Friday, January 7, 2011

11 Projects I Want to Make in 2011.

In 2011 my goal is to complete 11 craft projects.  Listed below are the projects I want to make.  I have already completed one of my projects and I'm making progress on some others and it's only January.

1. Camera Strap
 http://www.cluckclucksew.com/2009/01/camera-strap-cover-tutorial.html
[IMG_50823.jpg]

2. Nap roll
http://www.prudentbaby.com/2010/08/diy-nap-matbed-roll.html
http://sew4home.com/projects/bed-linens/690-cozy-kids-roll-up-nap-blanket


 3. Dress-Socialite dress from Anna Maria Horner
http://store.annamariahorner.com/sewingpatterns1.html
Socialite Dress

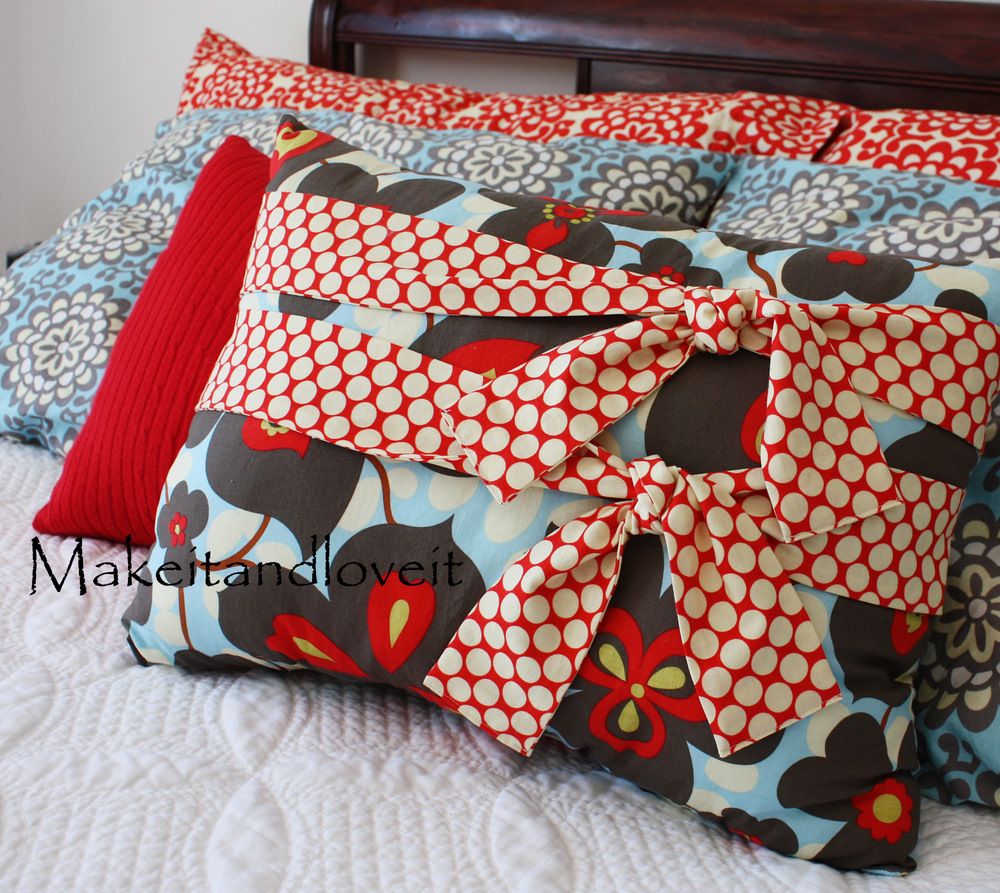
4. Pillows for my couch.
http://www.makeit-loveit.com/2010/01/decorate-my-home-part-6-pillow-with.html


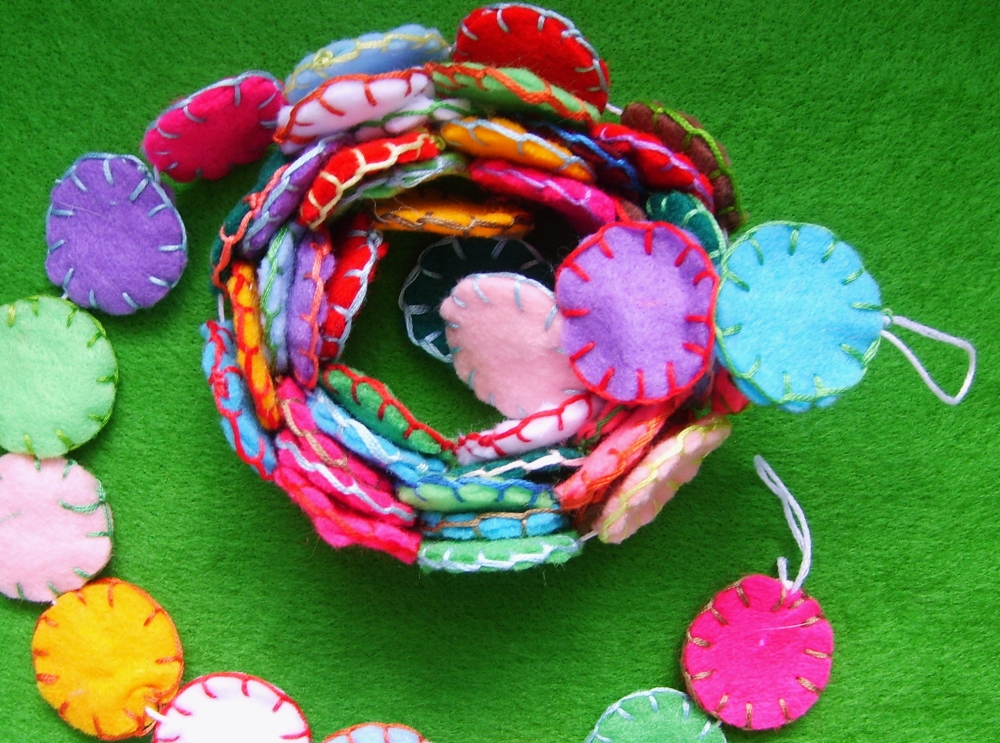
5. Felt Garland - For Christmas 2011 I want my tree to be covered in homemade ornaments. 
http://annamariahorner.blogspot.com/2006/12/cozy-up-with-blanket.html


6. Ragdoll - My favorite dolls are Ann & Andy so I can't wait to make these.  I think they are so cute.


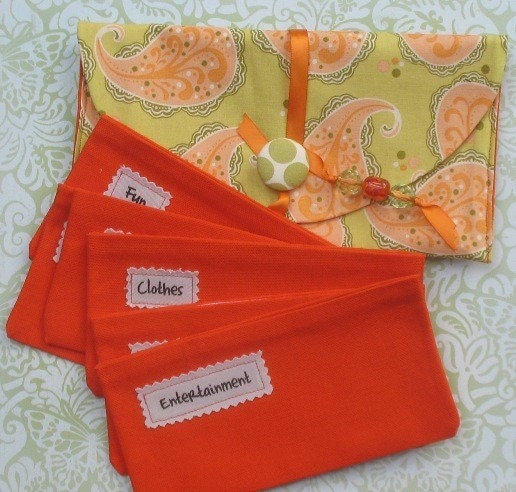
7. Dave Ramsey money envelopes - I'm going to make these for a friend. 
SIX Fabric Cash Only Money Envelopes with VELCRO and Designer Carrier - Green Friendly

8. Flat Emelie & Matt - When I was little I would play paper dolls with my mama.  These fabric "paper" dolls must be the new paper doll.
http://bluesundayhandmadewishlist.blogspot.com/2010/04/flat-emelie-and-matt.html


9. Felt Ornaments
http://annamariahorner.blogspot.com/2006/12/its-hoot.html


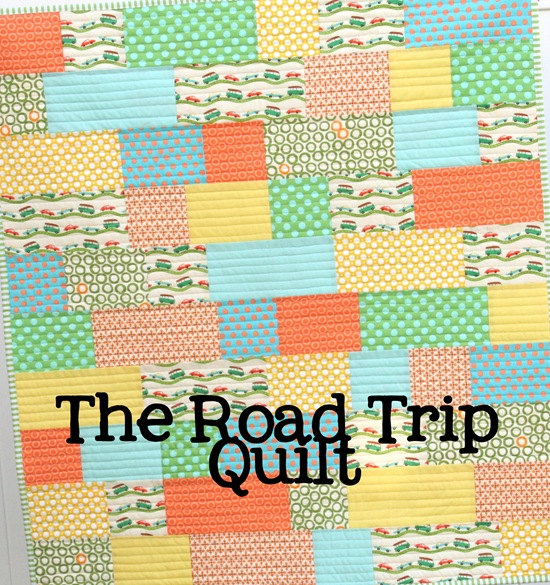
10. A Quilt - I have wanted to make a quilt for several years now, but it just seems like a big project to take on.  This is the year I'm going to accomplish my dream of making a quilt.
http://www.cluckclucksew.com/2010/07/tutorial-road-trip-quilt.html
IMG_5308-1

11. Toy Suitcase - My first craft project completed for 2011. 


When my little boy goes somewhere he always has a handful of tractors, cars, dogs, cows and horses in his hands.  He needed something to carry those toys in when we leave the house.  I decided to make him a toy suitcase.  I don't like putting his toys in his bag because they always fall to the bottom and you have to dig or take everything out to get to them.  This is my solution.

Thursday, November 18, 2010

Where Has My Time Gone

I have lots and lots of projects stacked in my sewing room and I don't know where my time has gone.  I think I spend most of my time chasing around a very cute little boy who likes to climb, crawl and dance on anything that might be dangerous.  I don't think that kid is scared of anything.  I have a few projects that I would like to finish before the end of the year. 

I think this mail organizer would look great hanging in my kitchen.  I could put mail in a place where it will not get lost.  Now I put our mail on the kitchen counter and it's always in the way.  I think this will be really cute and functional.
Mail Organizer from Noodlehead

I have already made a few of these gathered clutches, but I plan on making a few more as Christmas gifts.  They are really, really cute and I always get a compliment when I carry mine around.


I would also like to make of few of these market bags for Christmas gifts.

Friday, October 15, 2010

Really Good Crackers

I don't know what these crackers are called but they are really, really good and super easy to make.  My 19 month old son loves them. You just need a few ingredient and a bowl with a lid or a 1 or 2 gallon ziploc bag.


1 cup oil ( I used 3/4 cup olive oil)
1 pkg dry ranch mix
1 tablespoon garlic powder
1 tablespoon crushed red pepper flakes ( I used a full teaspoon & wished I would have used less)
1 box ritz crackers or saltines or any kind you would like to try with this recipe.

Through everything in a bowl or ziplic and shake.  Periodically shake the ingredients to mix up well.  EAT!


My sweet little pumpkin!

Thursday, September 2, 2010

Faith, Hope & Love Embroidery Hoop Craft

I saw this idea on another blog but I can't find the blog I found it on now.  Sorry.  I believe this has to be one of the easiest and quickest crafts I've done in a long time.  The idea I saw did not say Faith, Hope or Love but these are the words I picked for my project.

Sew a piece of cotton fabric of your choice and muslin together.  The pieces need to be big enought to fit in an embroidery hoop.
Next put the piece of fabric in the hoop and using a disappearing fabric pen and write the word you want to embroidery on the fabric.
Next, embroidery the word on the fabric.  If you don't know how to embroidery go to youtube and you will find all sorts of videos on how to embroidery any stitch you want.
All done.  (It's hard to see the yellow I used but I may change that hoop when I paint the walls yellow someday.)